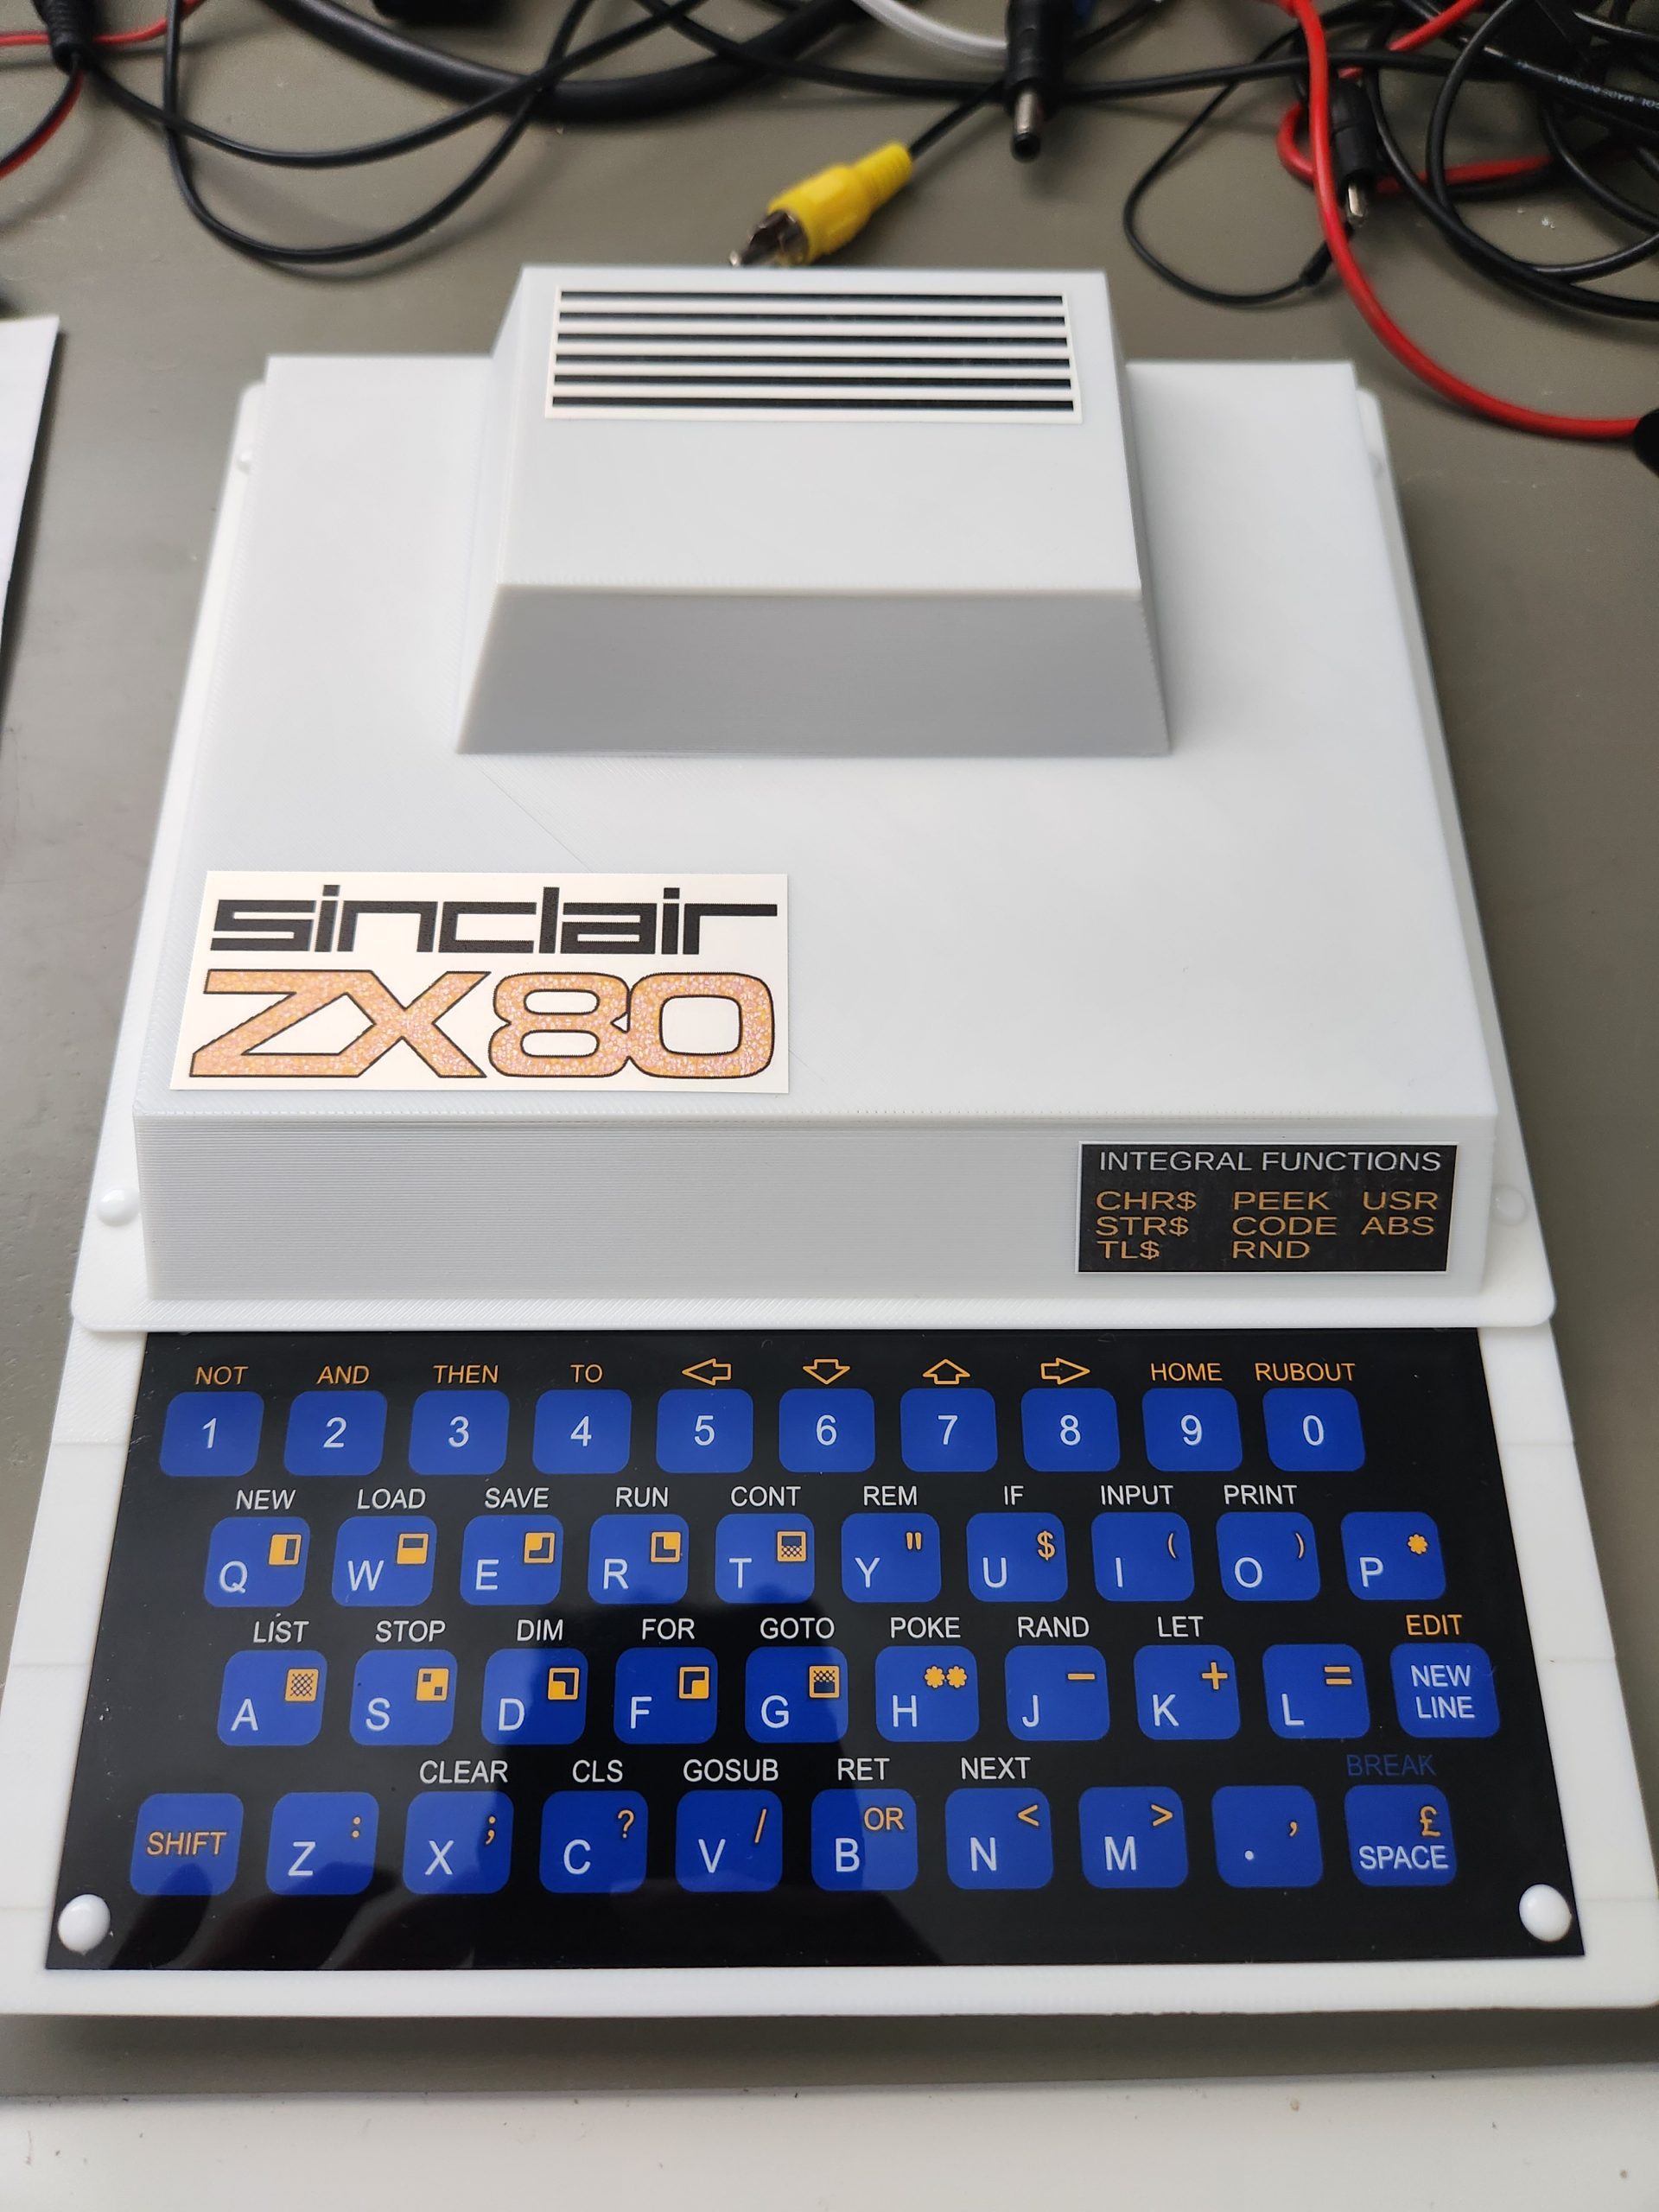
I decided to build a clone of a ZX80. This is mostly based on prior work, but I did find some issues, which I have documented solutions/changes here, should others run into similar problems
Key Elements
The ZX80 is based on four key elements:
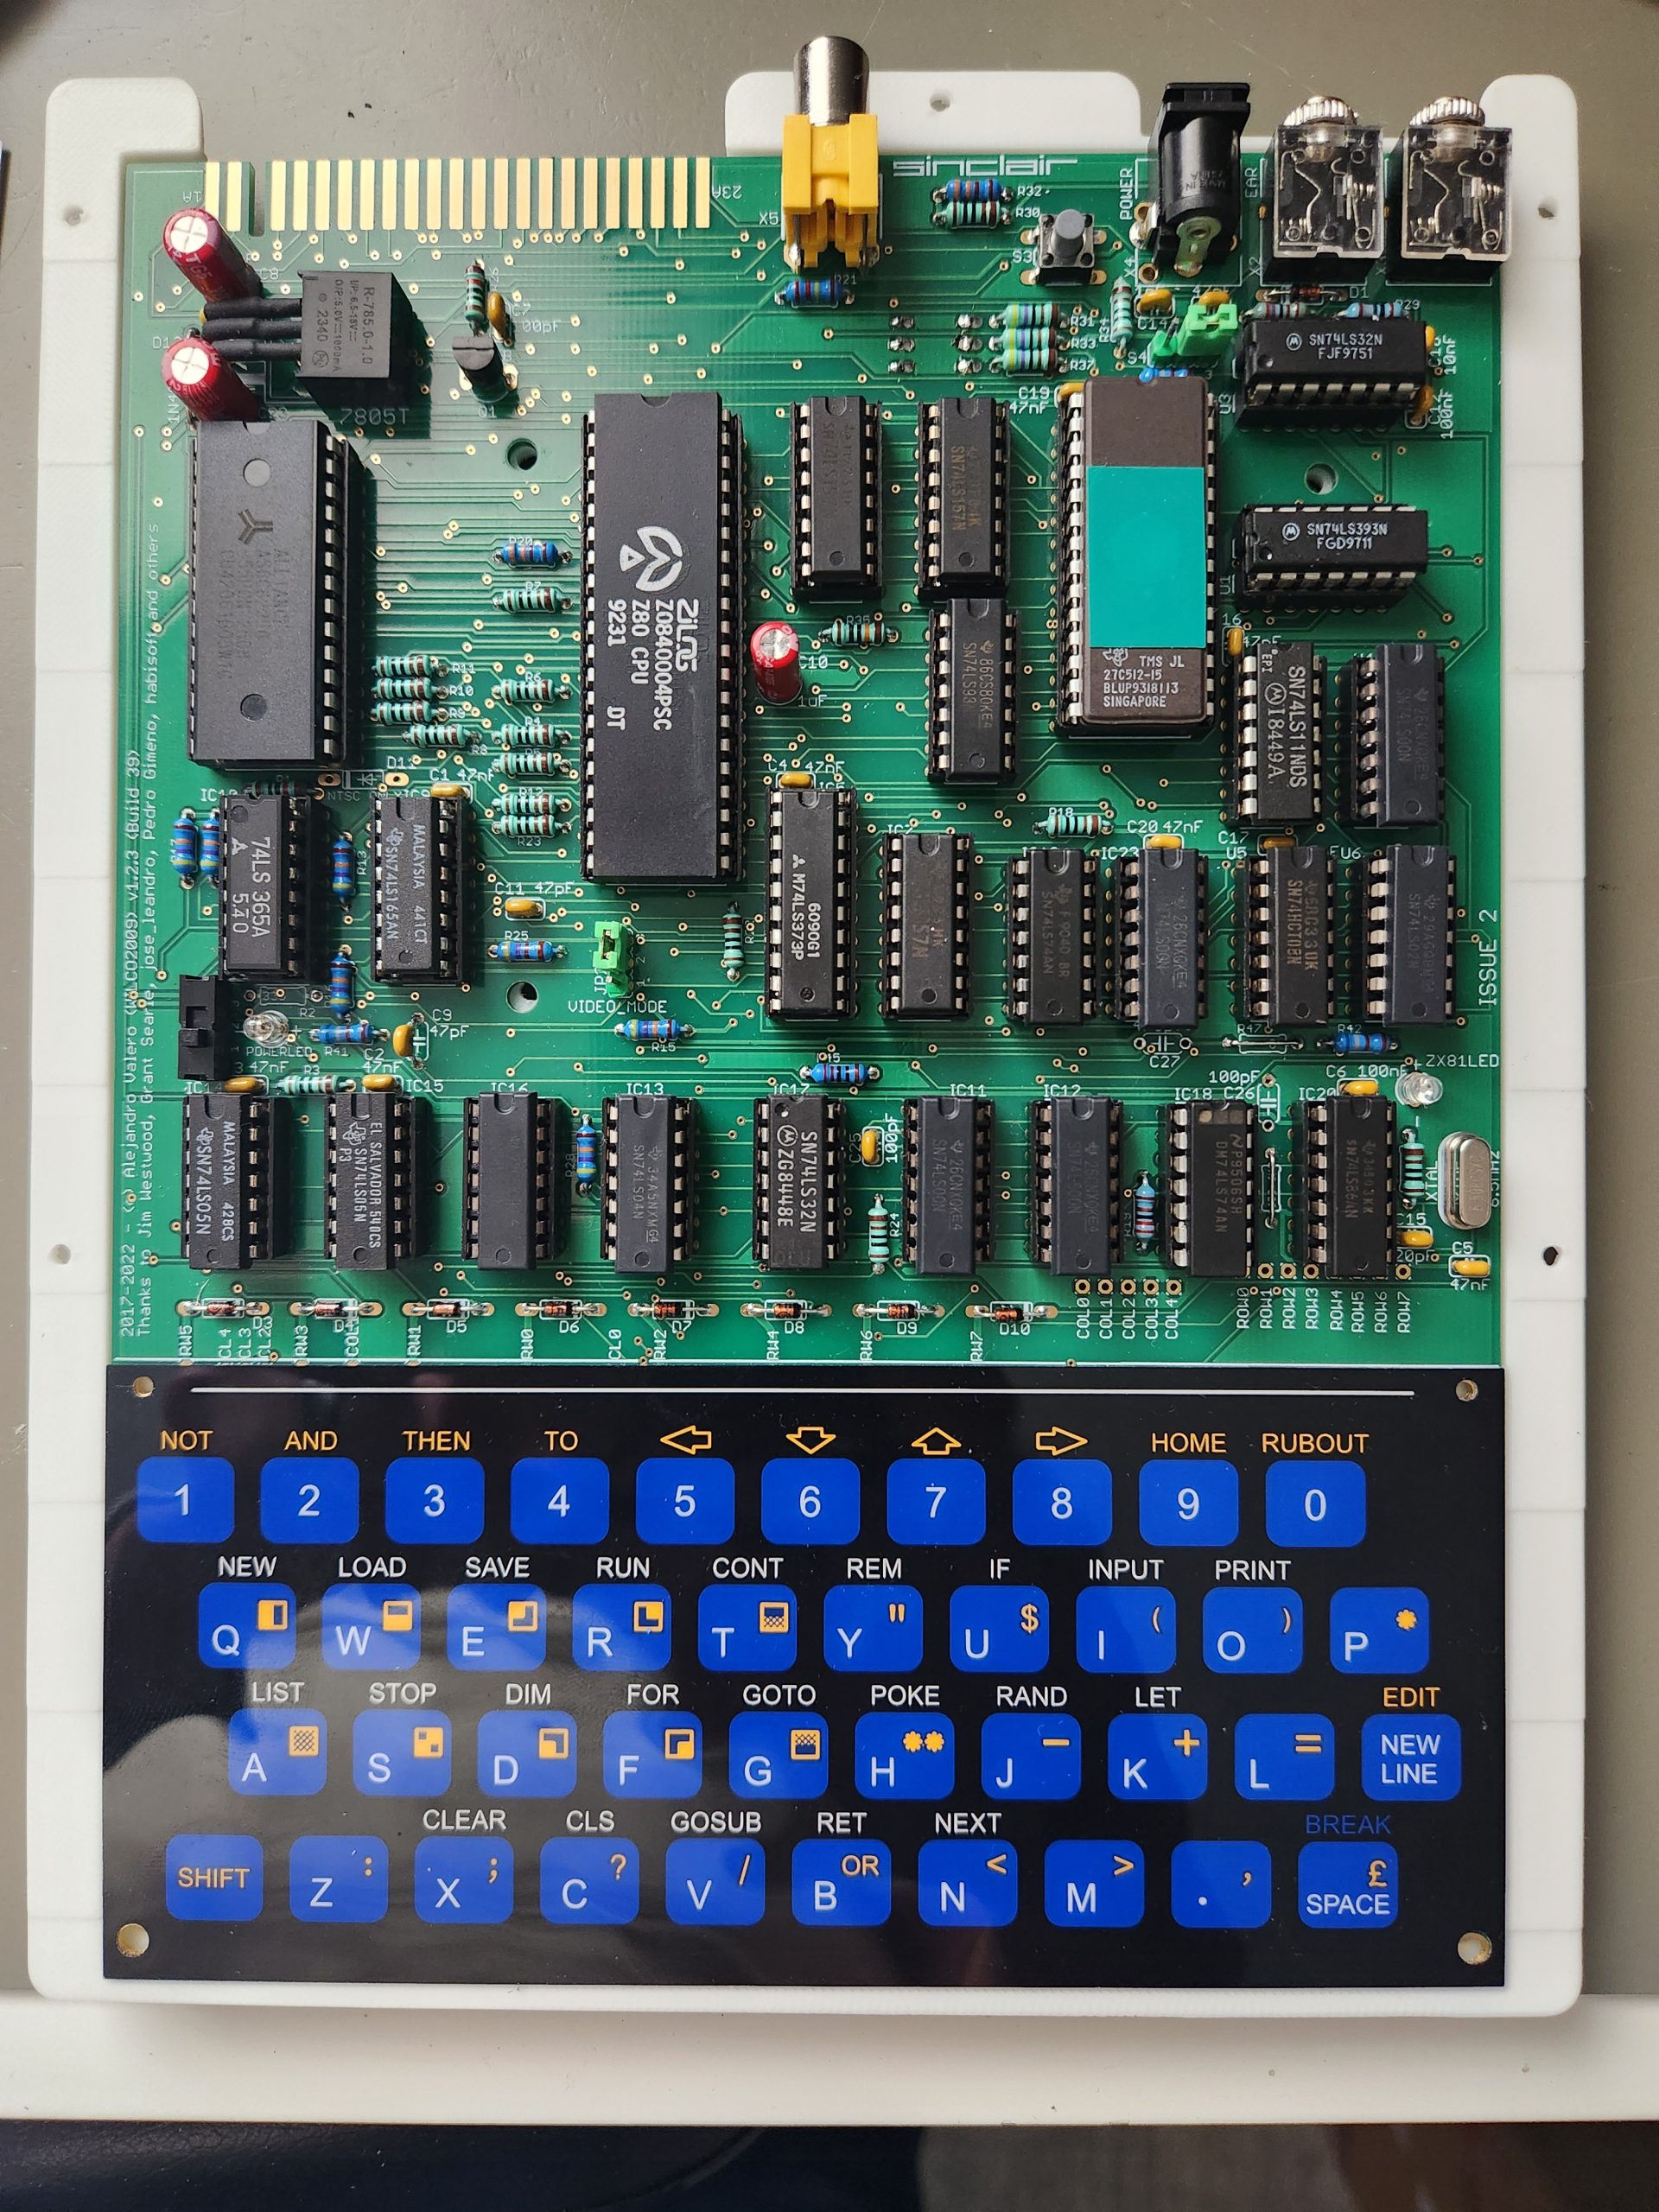
- The redesigned PCB (credit wilco2009) website (auto-translates) and github repo (I built the latest 039 version board)
- Keyboard replica from RWAP software (via sellmyretro)
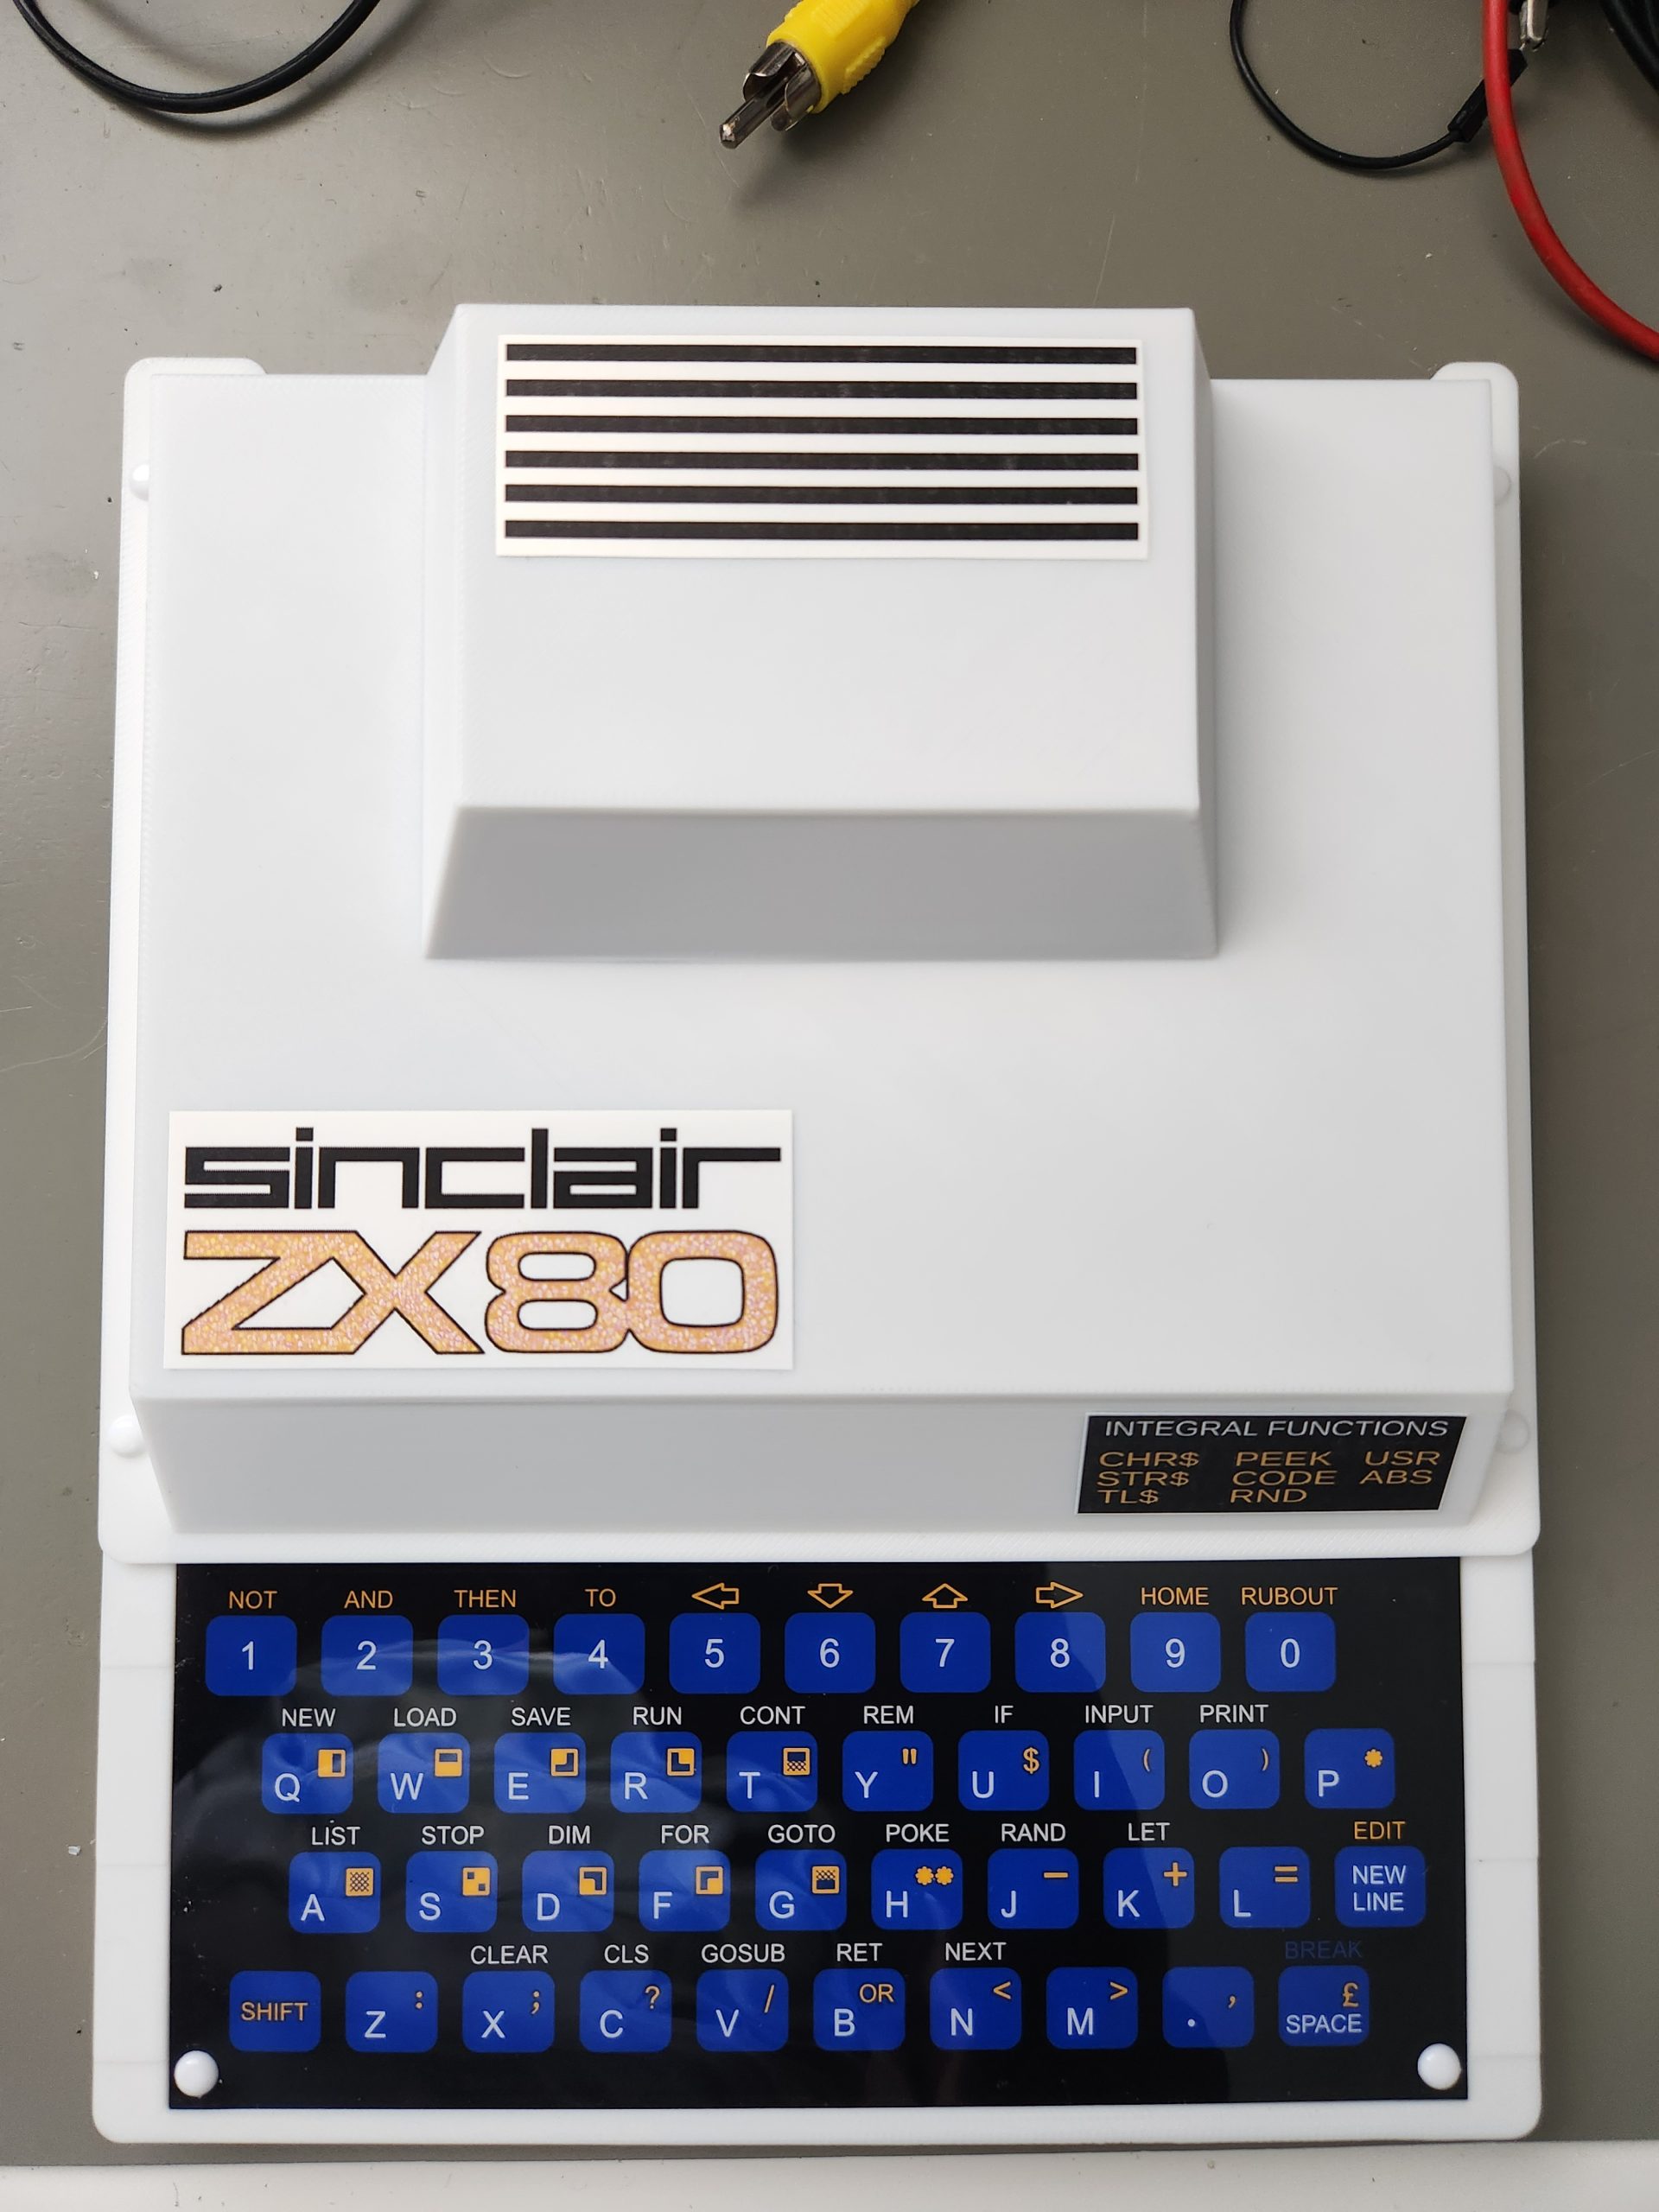
- 3D printed case, in white PLA (via printables)
- Printing the labels onto white laser printer vinyl (amazon) -these aren’t bad but also not perfect so keeping future options open
Sourcing Parts
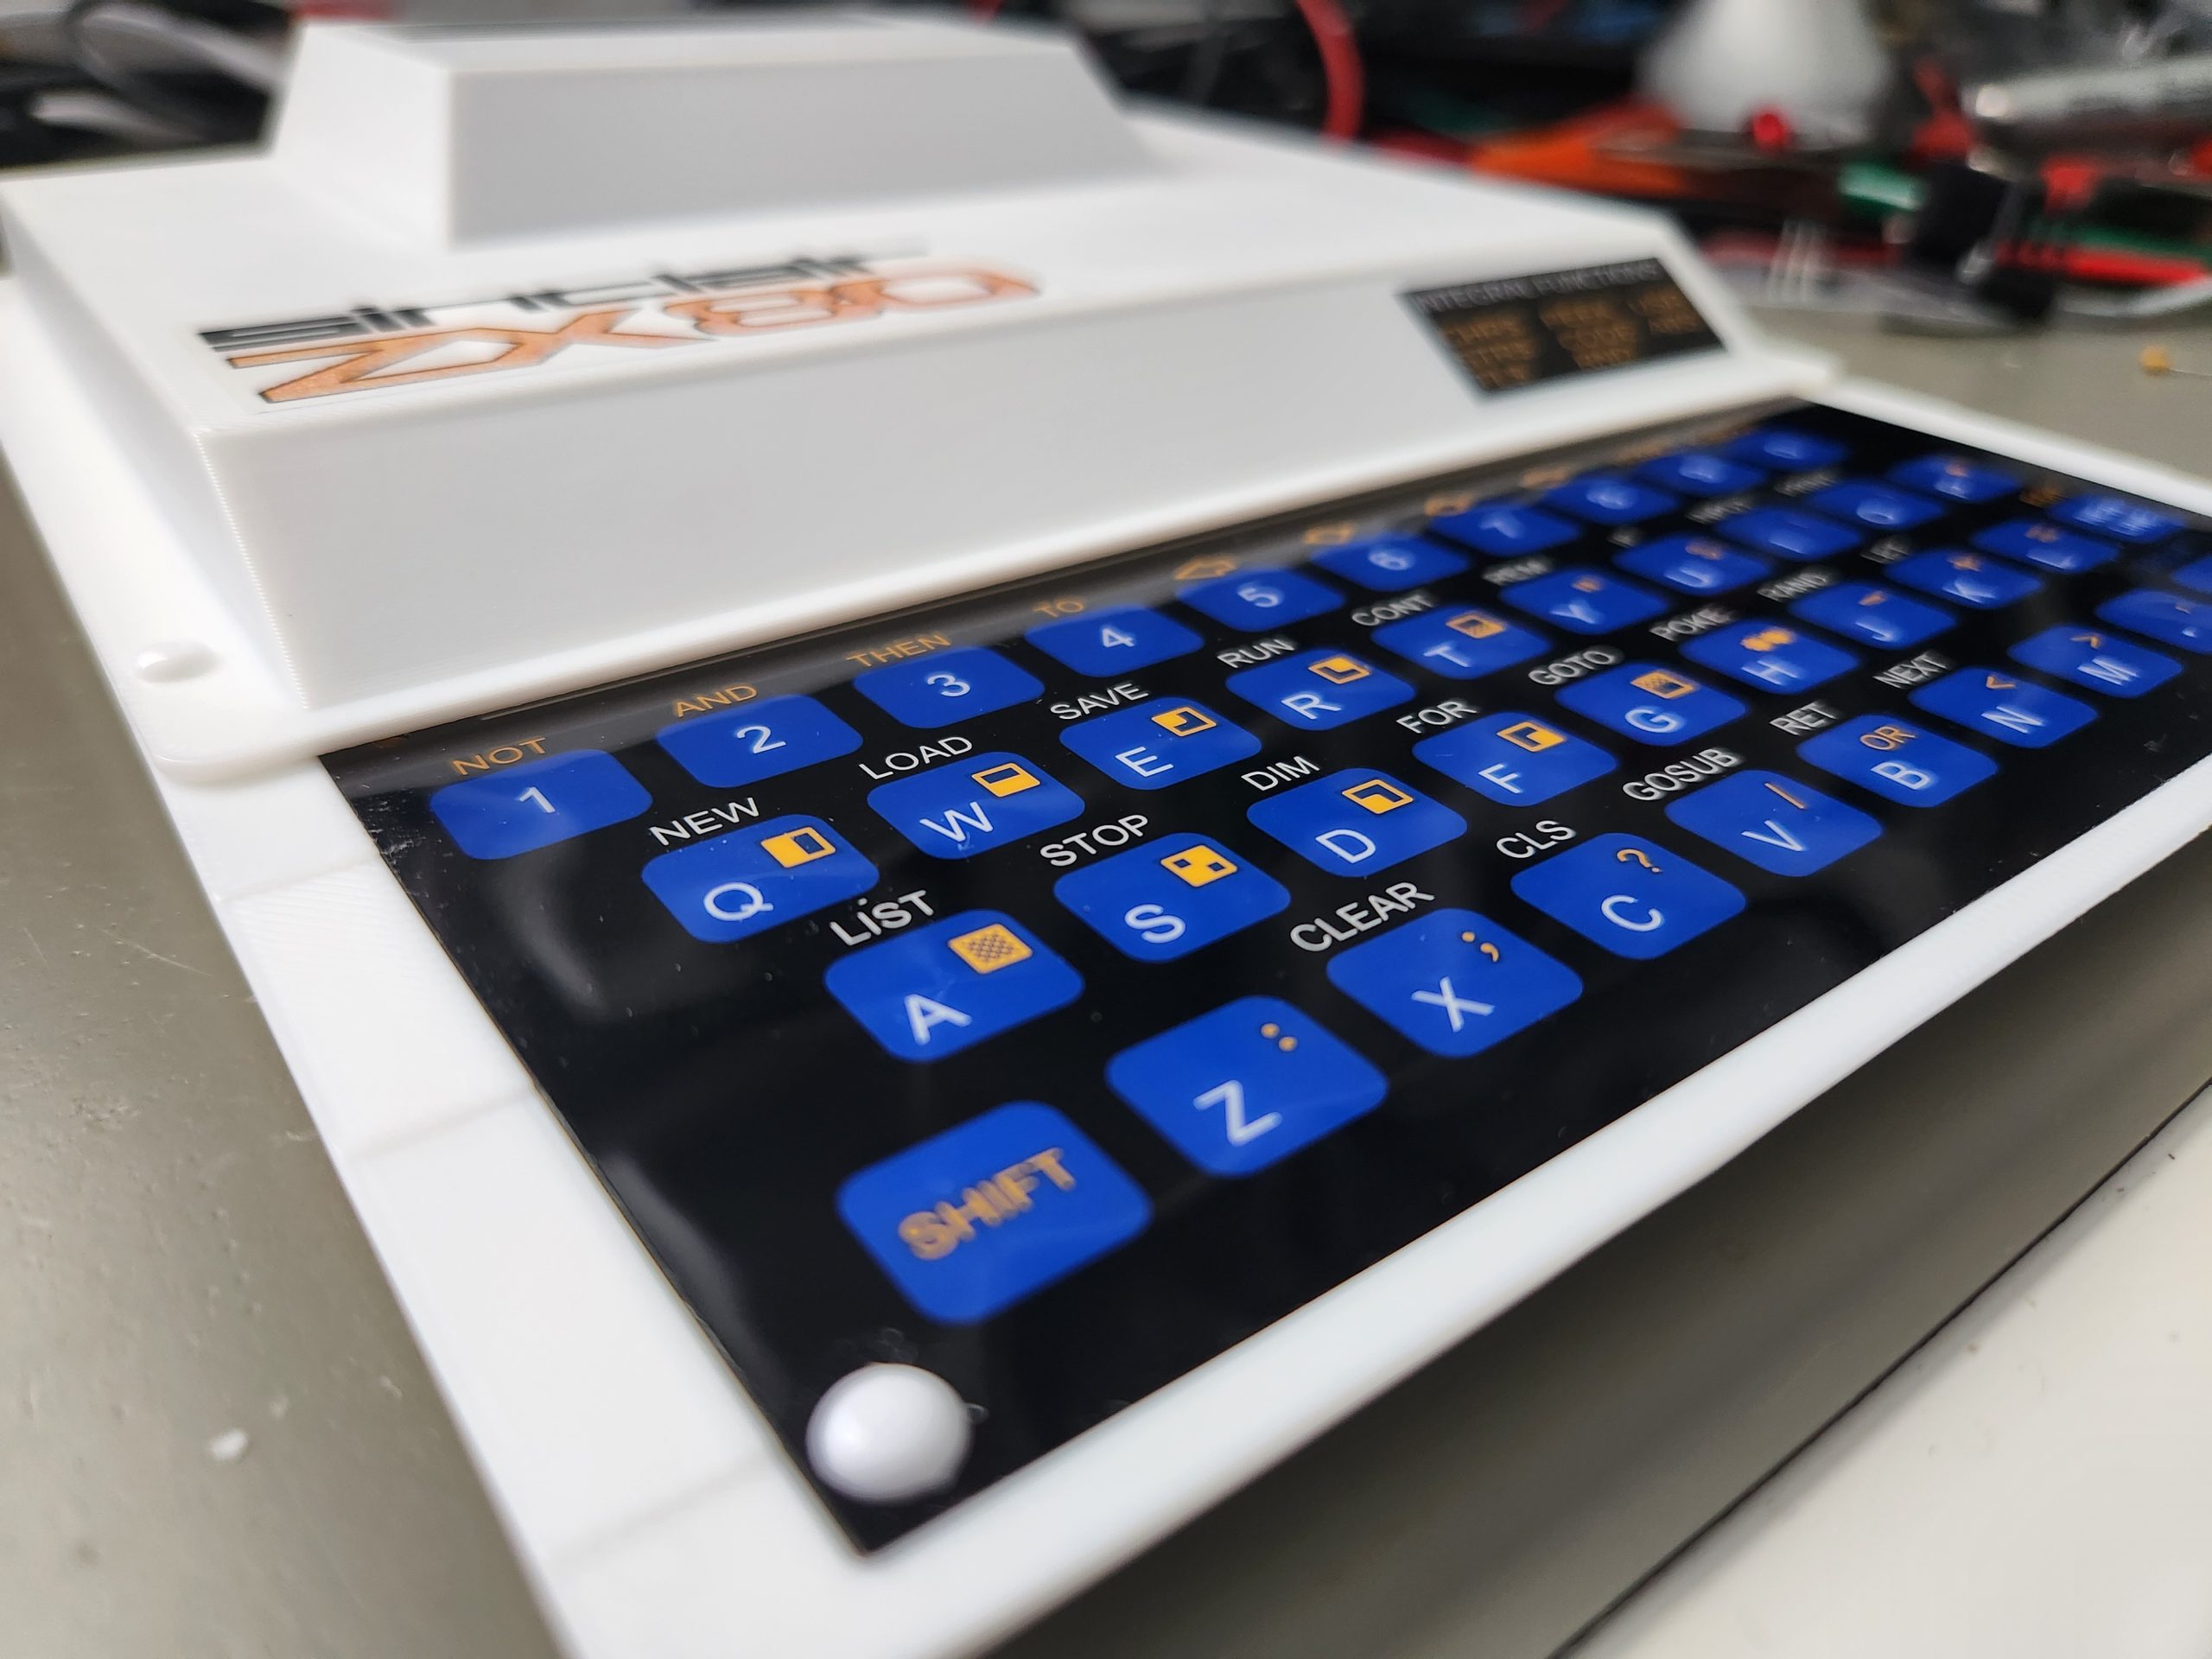
Most parts were pretty easy to get hold of. I fitted dome style key-switches over the existing pads (Keystone 5155). These need to be carefully positioned centrally over each of the contact points on the PCB before applying the self-adhesive keyboard overlay. This is a must be right-first-time application so I removed the self-adhesive backing, positioned the front edge and then lowered over the whole keyboard area, taking care not to disrupt the carefully placed dome-switches. Amazingly this works very well and gives a slight raise and nice tactile feel to the keys.
I also struggled to source 3.5mm jacks to fit the PCB footprint. Noting I could find from the usual sources seemed to fit. However I was very lucky to discover that my local store (anchor-electronics) had just the right part. Unfortunately these aren’t marked with a manufacturer but you can see the style (low profile with a clear plastic lid) in the photographs below. In deviating from the original I fitted a barrel jack for power (centre negative), to be consistent with the ZX Spectrums I own.
Issues and Modifications
I ran into a few issues with stability and made some modifications (mostly part values) in my case.
- Video signal weak: I found that U5 (74LS08) wasn’t providing enough pull-up capability to get the video levels right through R30 (default 1K). In my case I replaced U5 with a 74HCT08 which restored the correct video signal, although reducing R30 to around 400R seemed a valid alternative.
- Sketchy pixel clock: The pixel clock is via a high pass filter formed by C9/R2. I found I had to increase R2 to get a stable pixel clock and avoid random drop outs. R2 was increased to 680R (vs 470R/330R in the original ZX80 / recommended clone BOM respectively)
- Video low pass filters: Not sure why these were considered necessary (weren’t present on the original ZX80) so I reverted to that design, by removing C26, C27 and changing R46 and R47 to 0R wire links.
- High pass filter to clock the inverse video latch: This didn’t seem to work reliably (no inverted ‘K’ at power on), so changed R45 to 220R (from the BOM recommended 470R)
- Power supply regulator: Since I couldn’t fit the larger heatsink I originally tested with into the case, I just replaced this with a switching equivalent (Recom R-785.0-1.0) this gives some very slight high frequency noise on large areas of white video, over the 7805, but on most monitors is not noticeable.
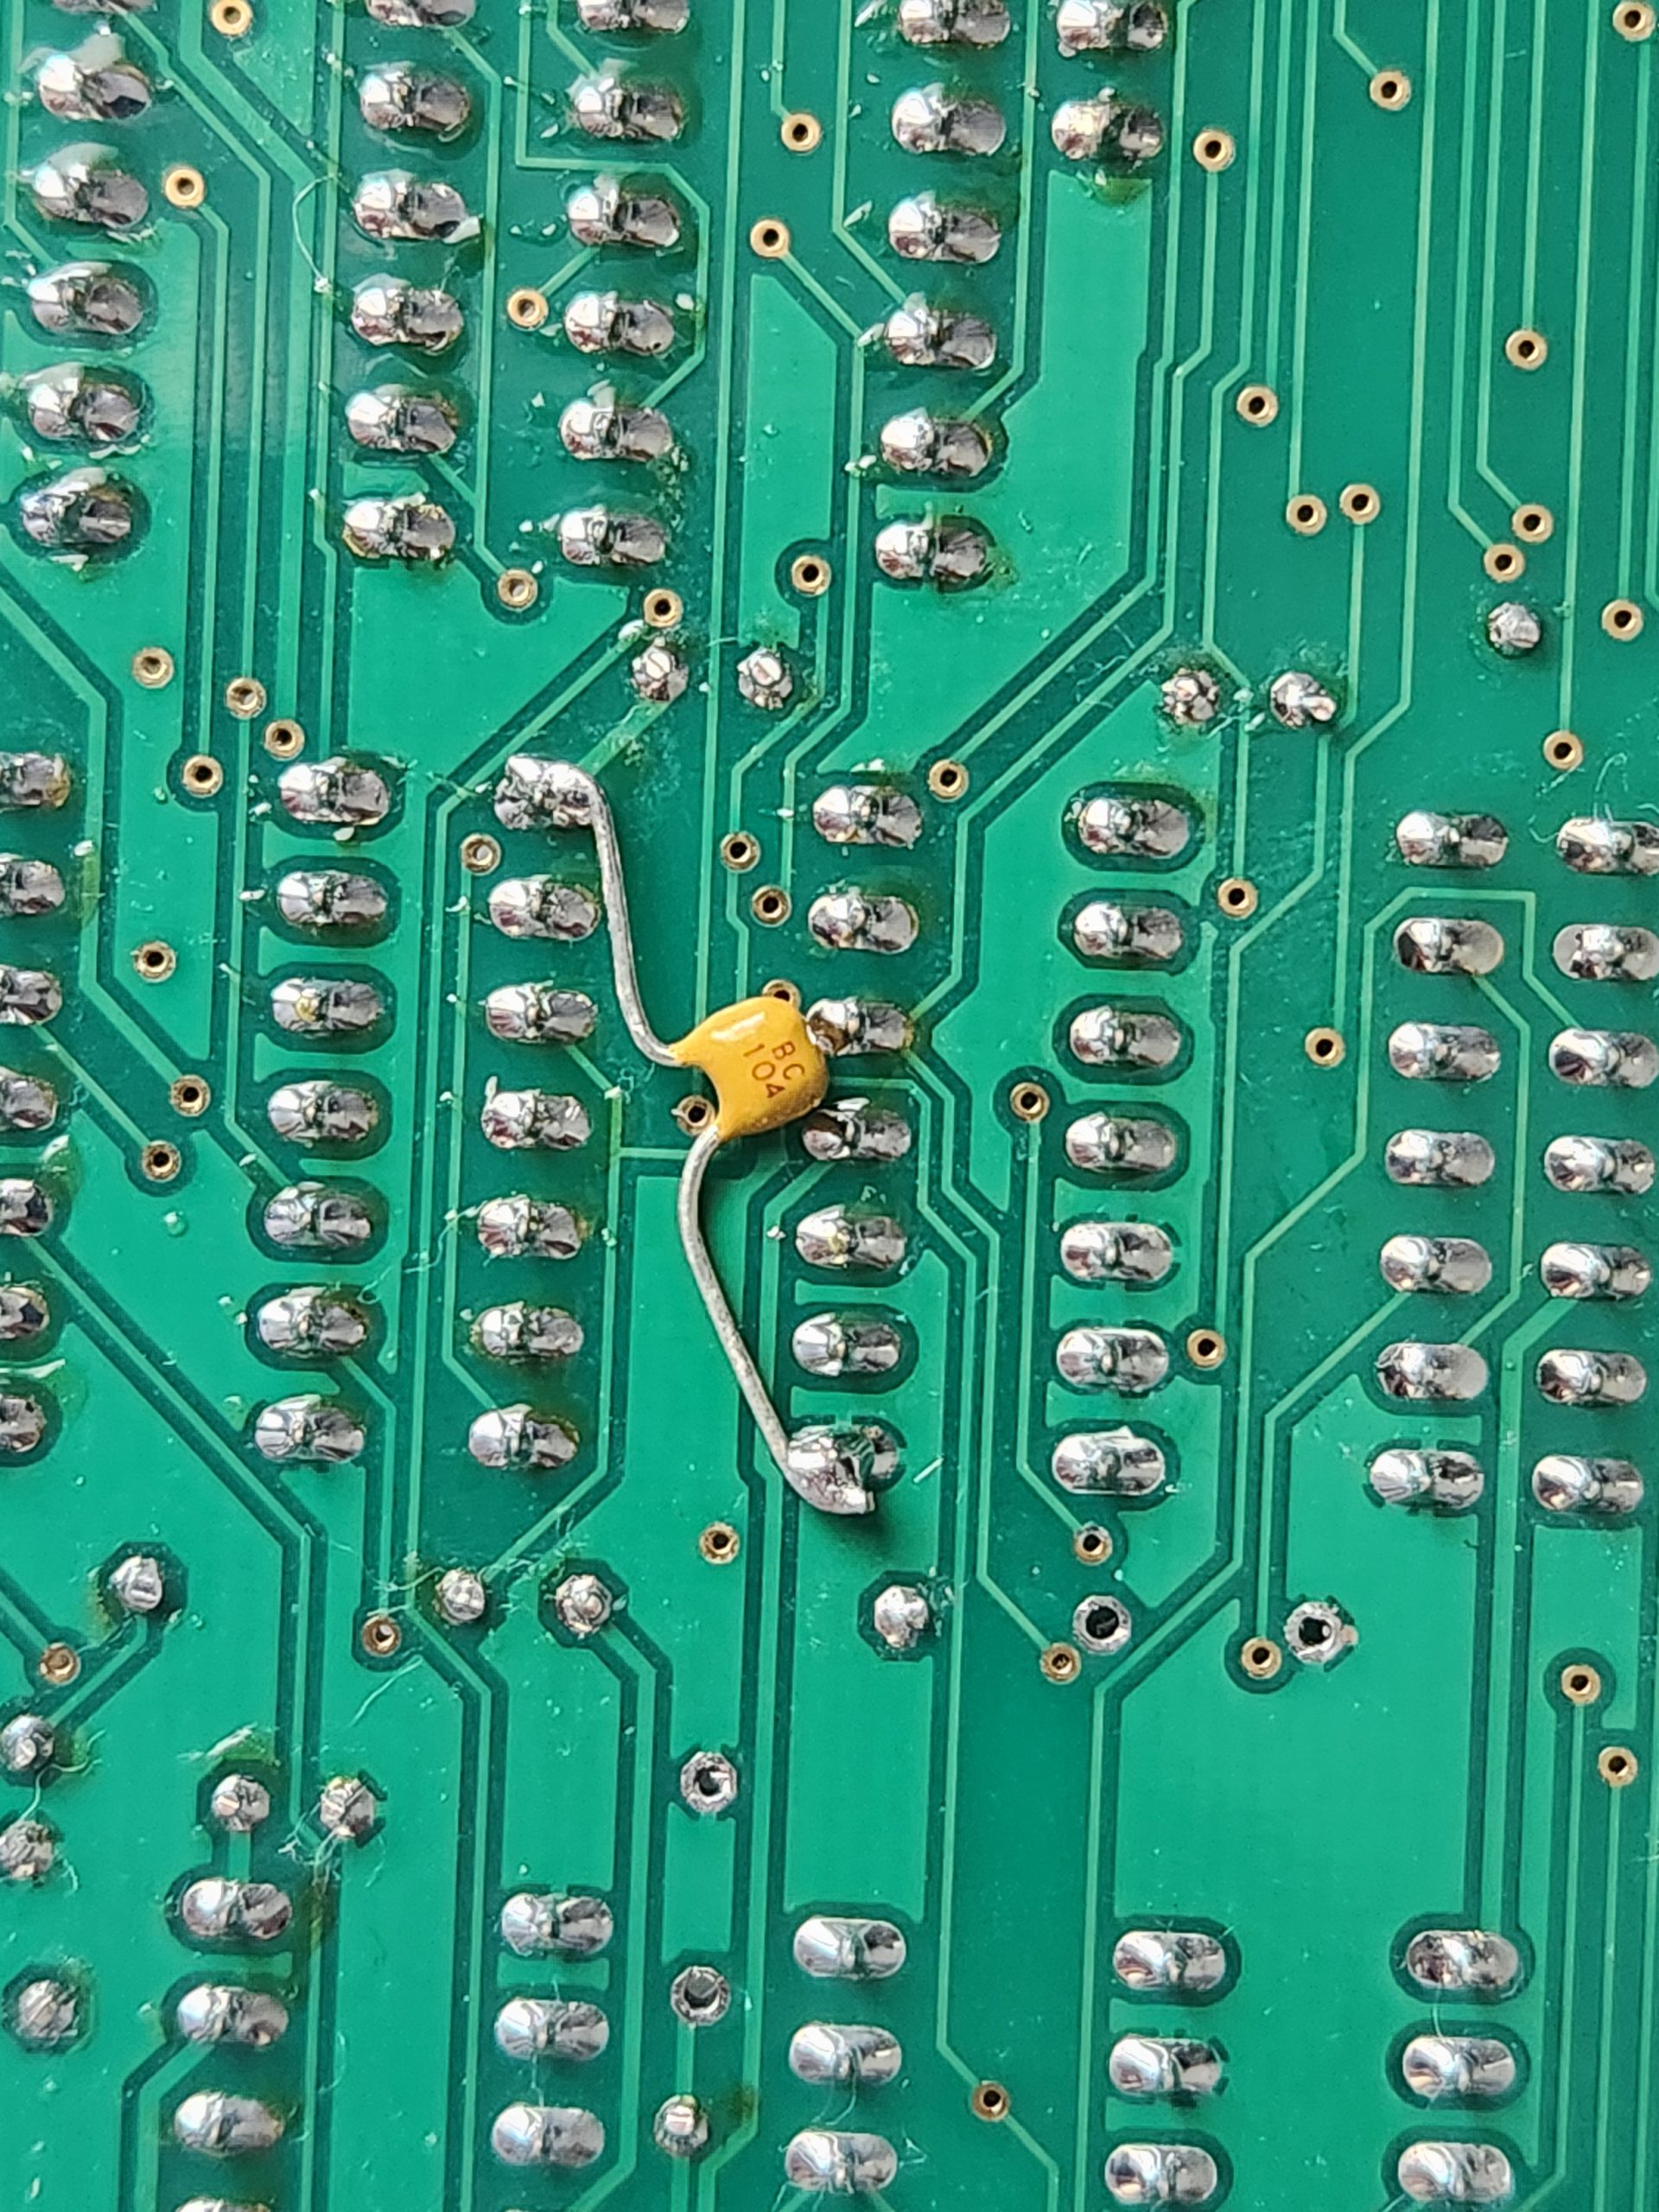
- Additional decoupling/bypass cap: Like the original, bypass caps are a little more scarce than I would prefer so I added an additional 100nF across the supply to U5. This made a marginal video quality improvement.
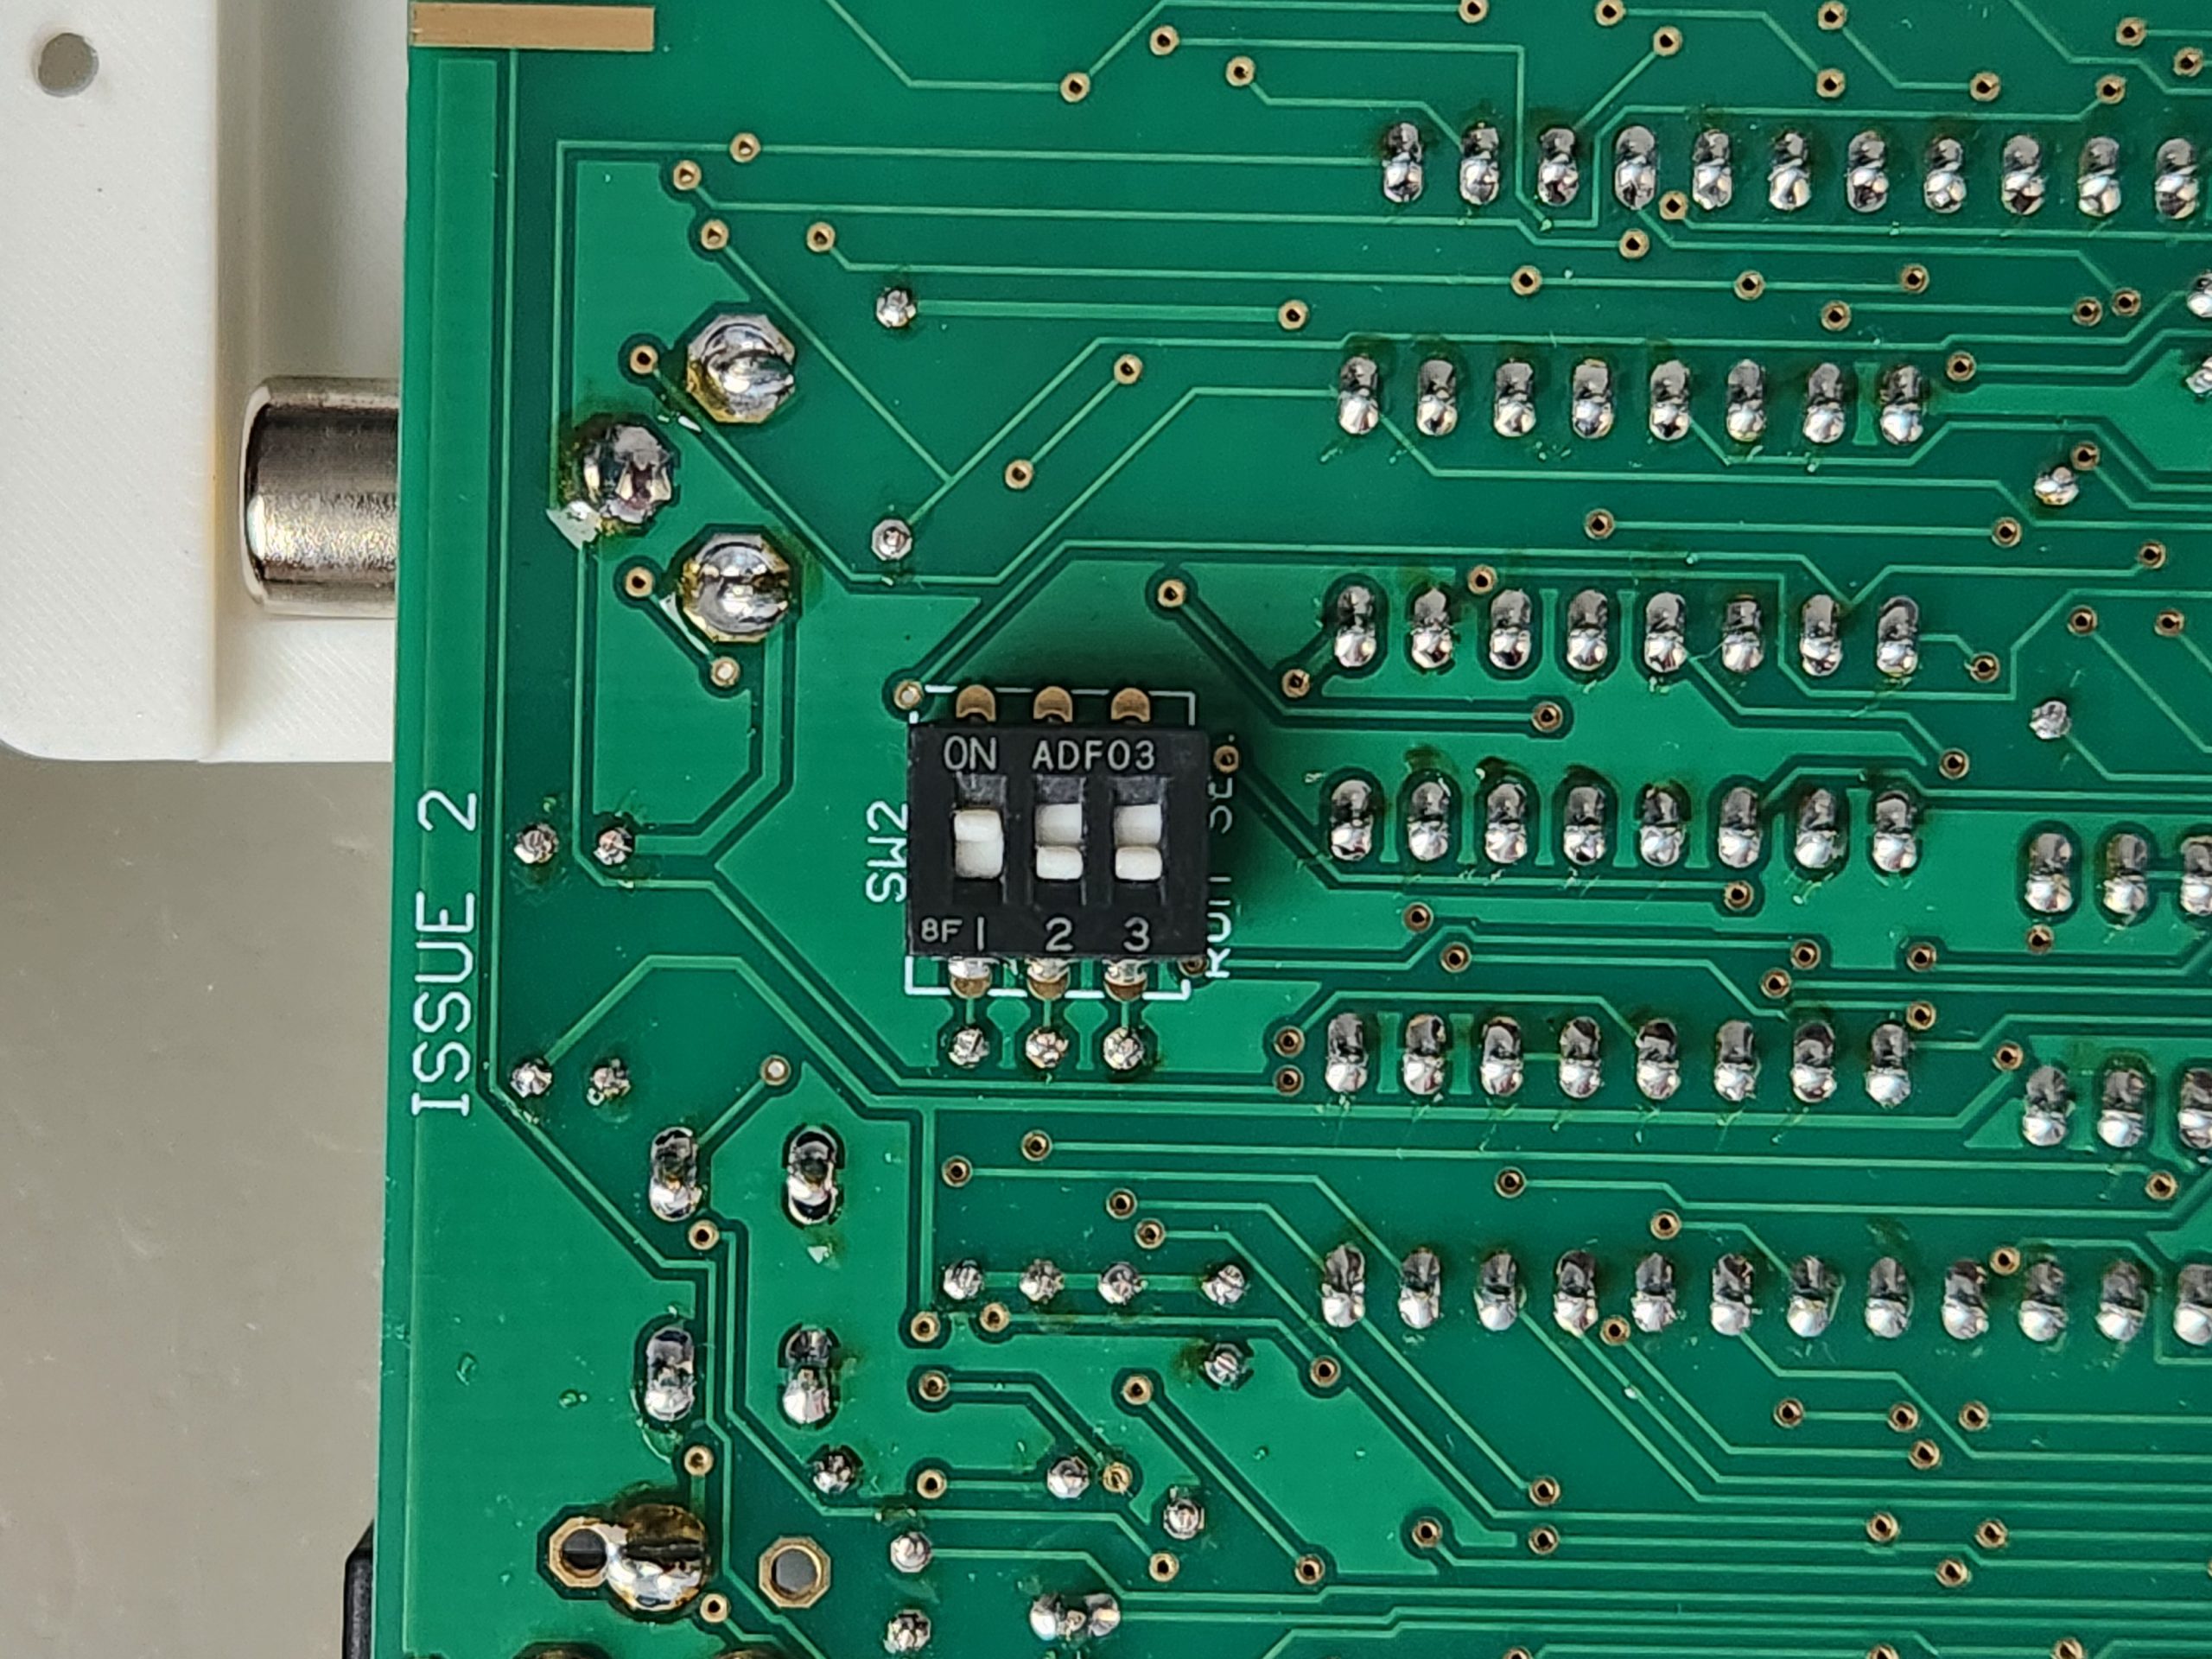
The machine works well in both ZX80 and ZX81 mode, although assembled into the case, I have left this in ZX80 mode since I have several ZX81 machines already. Games seem to run stable as do basic programs. Power consumption is low, at around 200mA with a 9VDC supply. Only the NMOS Z80 gets warm to the touch and if I were to replace this with a CMOS part I imagine power consumption would drop noticeably further.
The Case
As mentioned the case was 3D printed on my Bambu Labs P2S using white PLA and supports, base bottom-down, top being top-up. Since I fitted the DC input as the barrel jack option rather than 3.5mm mono connector, I had to dibble a small amount of material away to fit the rectangular profile of the jack correctly (using flush cutters). In keeping with the original, the top and bottom are held together with 2.5mm plastic rivets. I got these in a pack of 150 from Aliexpress (type 2648). After printing the holes need to be manually drilled out to 2.5mm (perhaps a bit larger so wiggle the drill a little to get slightly oversize).
More Pictures
Click each image to zoom